3. Setting Up Your Box Account
3.1. Sign up
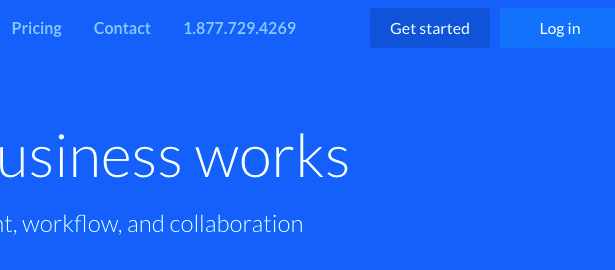
In the top right hand corner of the box homepage click on the Get Started button.
 get_started
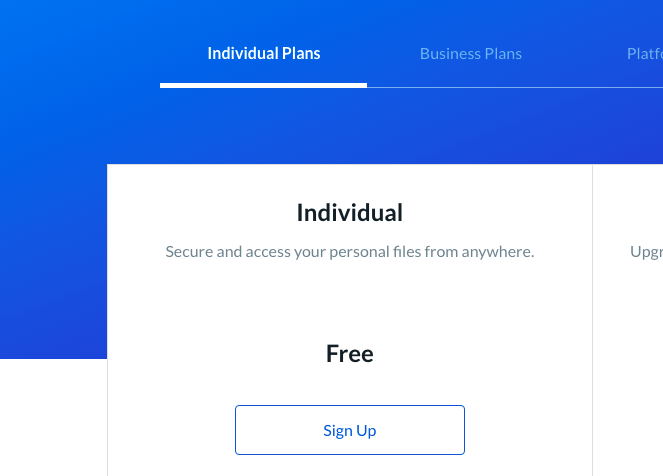
From the plans page, select the Individual tab and then click on the free option.
 individual_plan
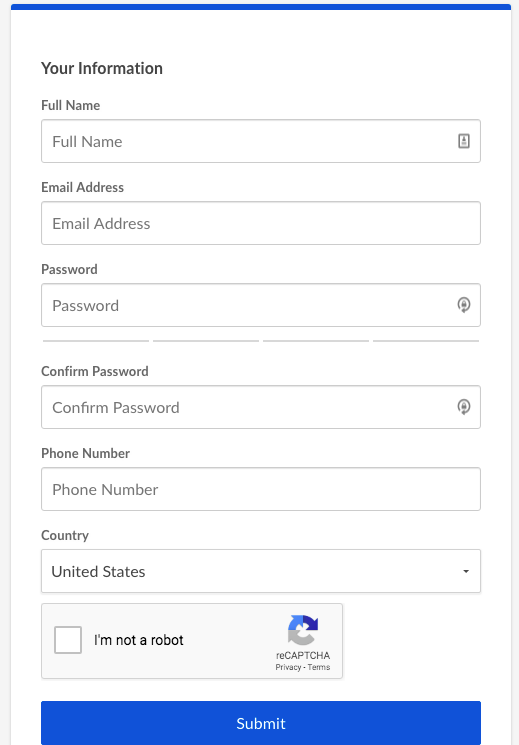
Fill out the required information and click Submit. You will receive a confirmation email with a link to verify your account.
 information.png
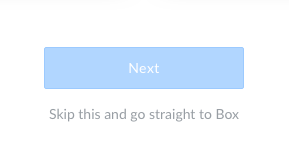
Once you have verified your account and signed in, you will be taken to a page that asks you about how you are using Box. You may fill this out or click Skip this and go straight to Box below the Next button.
 skip
skip
3.2. Creating an app
Navigate to the developer console and select Create New App. You will need to select what type of application you are building and an authentication method for your app and then enter an app name (you can change this later). Once your app has been created, click View App. You will then need to click the profile button in the top right corner of the page, and go to Account Settings. Scroll down to the Authentication section and click Require 2-step verification for unrecognized logins, then follow the prompts.
3.3. Authentication with JWT
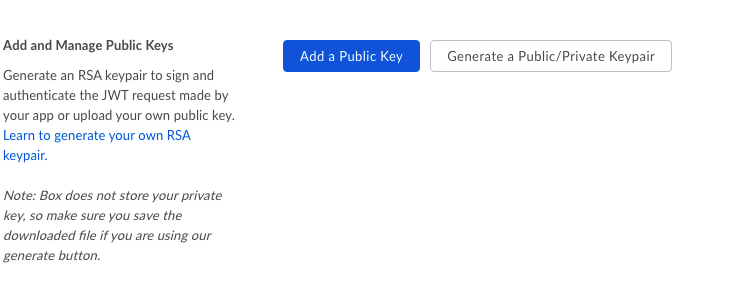
In the Configuration panel of the Developer Console, scroll down to
the section titled Add and Manage Public Keys and click Generate a Public/Private Keypair:
 Box Add Key
Once you have generated a keypair, a config.json file will automatically download. Save this file in a secure location as you will need it for authentication purposes.